PATHOLOGY MICROPHOTOGRAPHY TECHNIQUES
Ever wondered how that Nature magazine cover crisp sharp perfect focus picture was taken? It was probably using a million dollar microscope. But here I will describe a few techniques that will give you the million dollar look without spending all that money.
The perfect focus
I have to introduce you a few concepts here:
Magnification
Eyepieces and objectives both have magnification that each contribute to the overall system magnification. Magnification is usually denoted by an X next to a numeric value (2x, 4x, 10x...).
Depth of field:
Is the distance across the part of the picture that is acceptably sharp to the eye. When a lens focuses on a subject it creates only one point of clarity in the image. In n microscope a low magnification (2x) will have a deep DOF and everything will be in focus. However, a high magnification (40x or 100x) will have a shallow DOF and the focus will need adjustement to view all the field.
This video explains DOF in greater detail
Numerical Aperture
The Numerical Aperture (NA) of an objective is a function of the focal length and the entrance pupil diameter. Large NA objectives sometimes require the use of immersion oils between the object under inspection and the front of the objective. In short, a large NA will give you a very shallow depth of field (DOF)

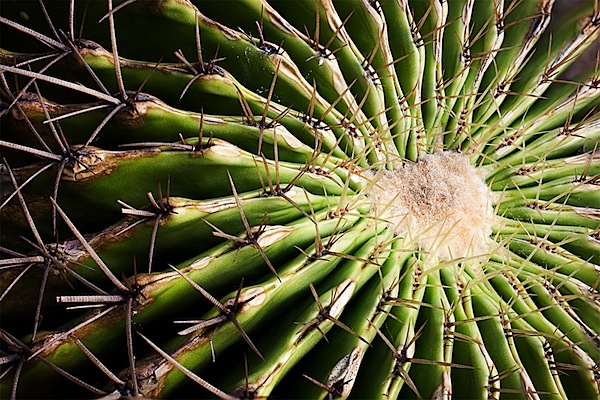
Focal depth (100x)


Focal depth (100x)

Focus stacking
Is a powerful technique used in close up and macro photography. Focus stacking works in 3 general steps:
1.Capture: Take several microphotographs by gradually incrementing the focusing distance across the subject. This is achieved by moving the fine focus knob on your microscope. Take as many pictures to capture all the layers of the subject. Look at the different focal points pointed by the arrows.

2. Alignment: The pictures have to be aligned pixel by pixel. Change in focus causes misalignment.
3. Merge: to creates the final image. Everything is is focus

How to put it all together
1) photoshop CS3 or higher
Step 1: goto File>Scripts>Load Files into Stack


Step 3: The loaded pictures will show as individual layers. click on the first layer, press shift and click on the bottom one to select them all.


2) Other software
If you want to get professional results you can use any of these options. Some are free and others not.
Enblend/Enfuse
Open Source by Yuval Levy | Windows, Linux
Enblend combines images that overlap into a single large image with no seams. Enfuse combines images that overlap into a single image with good exposure and good focus.

Focus stacking
Is a powerful technique used in close up and macro photography. Focus stacking works in 3 general steps:
1.Capture: Take several microphotographs by gradually incrementing the focusing distance across the subject. This is achieved by moving the fine focus knob on your microscope. Take as many pictures to capture all the layers of the subject. Look at the different focal points pointed by the arrows.

2. Alignment: The pictures have to be aligned pixel by pixel. Change in focus causes misalignment.
3. Merge: to creates the final image. Everything is is focus

Watch this video gives you some concepts of focus stacking.
How to put it all together
1) photoshop CS3 or higher
Step 1: goto File>Scripts>Load Files into Stack
Step 2: Browse to the folder containing the pictures and click OK

Step 3: The loaded pictures will show as individual layers. click on the first layer, press shift and click on the bottom one to select them all.

Step 4: Go to Edit>Auto-Align Layers. The Auto-Align dialogue box opens. By default it is set to Auto. Leave it at that. Click OK. All the layers will be aligned.
Step 5: Go to Edit>Auto-Blend Layers.
Step 6: The Auto-Blend Layers dialogue box opens. By default it will be set to Stack Images. Click OK.
Step 7: enjoy the results

2) Other software
If you want to get professional results you can use any of these options. Some are free and others not.
Enblend/Enfuse
Open Source by Yuval Levy | Windows, Linux
Enblend combines images that overlap into a single large image with no seams. Enfuse combines images that overlap into a single image with good exposure and good focus.
Helicon Focus
Commercial by Helicon Soft Ltd. | Mac, Windows
Helicon Focus is an image editing software that creates one completely focused image from several partially focused images by combining the focused areas. The program is designed for macrophotography...
Commercial by Helicon Soft Ltd. | Mac, Windows
Helicon Focus is an image editing software that creates one completely focused image from several partially focused images by combining the focused areas. The program is designed for macrophotography...
TuFuse
Free by tawbaware
Is a Windows command line program that creates extended dynamic range ("exposure blended") and extended depth of field ("focus blended") images. TuFuse uses a technique known as Image Fusion to combine the "best exposed" and/or "best focused" regions of multiple images into a single "fused" composite image.
LR/Enfuse
Free by Timothy Armes | Mac, Windows
LR/Enfuse is a Lightroom plug-in that allows you to blend multiple exposures together directly from within Lightroom by using the open source Enfuse application.
Free by Timothy Armes | Mac, Windows
LR/Enfuse is a Lightroom plug-in that allows you to blend multiple exposures together directly from within Lightroom by using the open source Enfuse application.
Commercial by Zerene systems.
Zerene Stacker is “focus stacking” software designed specifically for challenging macro subjects and discerning photographers. Of course it works great with simpler subjects, close-ups, and landscapes also!
CombineZP
Stack Focuser
CombineZP
Stack Focuser
ImageJ Plugin.
ImageJ Plugin
Improving background (coming soon)
Enhancing colors (coming soon)
Creating a canvas (coming soon)
Improving background (coming soon)
Enhancing colors (coming soon)
Creating a canvas (coming soon)